

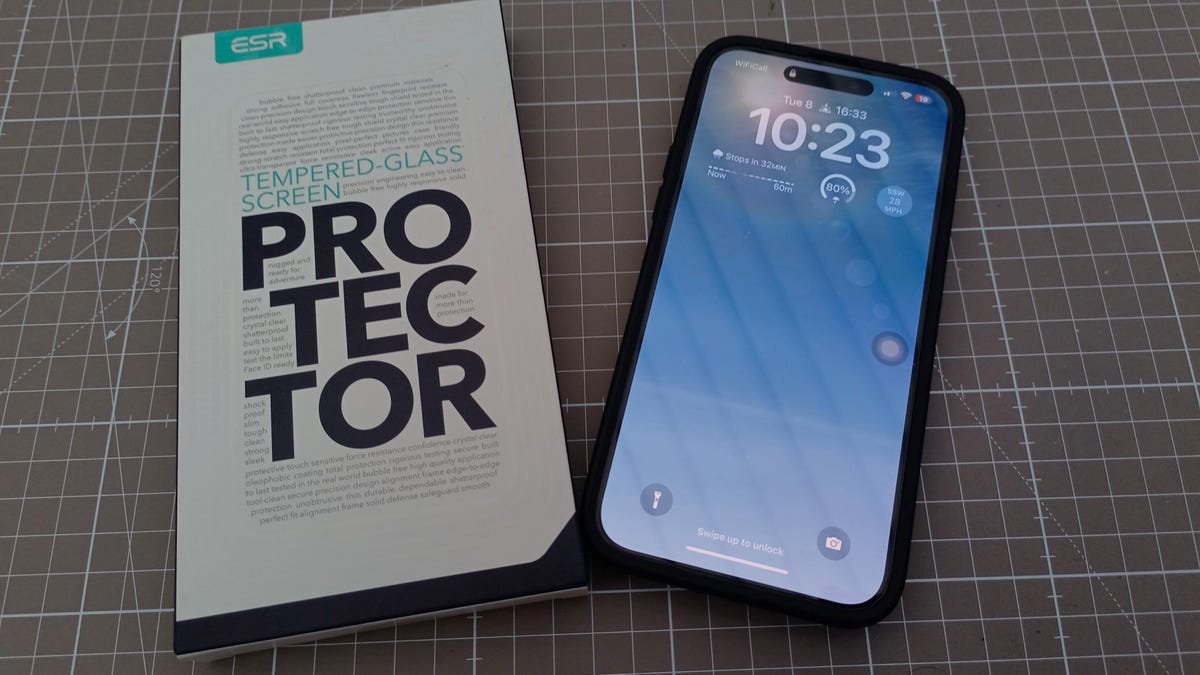
Protect your smartphone with an ESR tempered glass screen protector
ESR tempered glass screen protector kit. Adrian Kingsley-Hughes/ZDNET
The other day I did a dumb thing. I dropped my iPhone 14 Pro Max onto rough rocks.
It landed facedown.
And resulted in a crack.
Thankfully, the crack was in the sacrificial screen protector that I’d fitted as soon as I took the iPhone from its box.
It could have been a lot worse!
But this means I needed to replace the screen protector. I decided to fit an ESR tempered glass screen protector.
Key features
- Military-grade protection: This protector makes use of a sheet of ultratough tempered glass capable of resisting up to 33 pounds of force, protecting against scratches and chips.
- Smooth and clean: The oleophobic coating shrugs off smudges and fingerprints.
- Bubble-free: The alignment frame and cleaning kit makes fitting the screen protector quick, easy, and, importantly, bubble-free.
- HD clarity: The clear glass means you are not compromising on display quality, and it is compatible with Face ID.
A good screen protector gives you everything you need to apply the screen protector successfully. With this ESR kit you get not one, but three screen protectors, a frame to fit it with, cleaning wipes, a nonslip mat to work on, dust removal stickers, and a microfiber cloth.
It’s a really good, high-quality kit.
Let me take you through the process and offer a few tips to help you successfully apply the screen protector.
Step 1: First, read the instructions. Yeah, I know, no one has time for that, but make time.
Step 2: Next, check to see if the screen protector fits your phone. (Check its compatibility before you buy it, but also physically hold it up and check.) This process is called a dry fit, and it’s important, especially if you’re removing an existing screen protector, as you don’t want to end up without a screen protector.
Step 3: Satisfied that you have the right kit, remove the old, cracked screen protector.
Step 4: Clean the screen well. Even if you had a screen protector fitted, there will be dirt and muck around the edges that you need to remove.
Step 5: Fit the alignment frame around the display.
Step 6: Remove any last bits of dirt and dust.
Remove the last bits of dust. Adrian Kingsley-Hughes/ZDNET
Step 7: Remove the film covering the screen protector. Keep the adhesive side facing down to prevent dust falling onto it.
Pull the tab to remove the adhesive film on the screen protector. Adrian Kingsley-Hughes/ZDNET
Step 8: Align the bottom of the screen protector with the alignment frame (note that the screen protector has a top and a bottom), and drop it on the display.
Aligning the screen protector with the alignment frame Adrian Kingsley-Hughes/ZDNET
Step 9: Work any bubbles to the edge using a finger or the microfiber cloth. If there are any stubborn bubbles, you might need to lift the protector to get them out.
Work the bubbles out to the edge. Adrian Kingsley-Hughes/ZDNET
Step 10: Job done: Your phone’s screen is protected.


Pingback: find out
Pingback: buy marijuana online
Pingback: mooie blote borsten
Pingback: ข่าวกีฬา
Pingback: how to use dried porcini mushrooms
Pingback: useful site
Pingback: https://stealthex.io
Pingback: best gym equipment
Pingback: free cams